
JSP 7. JSP 내장객체
JSP 내장객체
내장 객체
- 웹 프로그래밍의 근간이 되는 요청과 응답부터 출력, 세션, 페이지와 애플리케이션등 제공
- JSP 페이지가 실행 될때 컨테이너가 자동으로 내장객체를 생성해줌.
- 즉시 사용가능
종류
- request : 클라이언트의 요청 정보 저장함
- response : 클라이언트의 요청에 대해 응답 정보를 저장함
- out : JSP 페이지에 출력할 내용을 담는 출력 스트림
- session : 웹 브라우저 정보를 유지하기 위한 세션 정보 저장함.
- application : 웹 어플리케이션 관련 컨텍스트 정보를 저장함.
- pageContext : JSP 페이지에 대한 정보 저장함.
- page : JSP 페이지를 구현한 자바 클래스의 인스턴스
- config : JSP 페이지에 대한 설정 정보 저장함
- exception : 예외가 발생한 경우 사용
request 객체
- 가장 많이 사용되는 객체
- 클라이언트 (주로 웹 브라우저)가 전송한 요청 정보를 담고 있는 객체임.
- 클라이언트와 서버에 대한 정보 읽기
- 클라이언트가 전송한 요청 매개변수에 대한 정보 읽기
- 요청 헤더 및 쿠키 정보 읽기
1) requestMain
    <%@ page language="java" contentType="text/html; charset=UTF-8"
    pageEncoding="UTF-8"%>
<!DOCTYPE html>
<html>
<head>
<meta charset="UTF-8">
<meta name ="viewport" content="width=device-width, init-scale=1.1">
<title>내장 객체 - request </title>
</head>
<body>
	<h2>1. 클라이언트와 서버의 환경정보 읽기</h2>	<!-- GET 방식 요청 -->
	<a href="./requestWebInfo.jsp?bob=Hello&may=World">
		GET 방식 요청
	</a>
	<form action="requestWebInfo.jsp" method="post" >	<!-- post 방식 요청 -->
		인수1 : <input type="text" name="bob" value="Bye" /><br>
		인수2 : <input type="text" name="may" value="World" /><br>
		<input type="submit" value="POST 방식 전송"/>
	</form>
</body>
</html>
2) requestWebInfo
<%@ page language="java" contentType="text/html; charset=UTF-8"
pageEncoding="UTF-8"%>
<!DOCTYPE html>
<html>
<head>
<meta charset="UTF-8">
<meta name ="viewport" content="width=device-width, init-scale=1.1">
<title>내장 객체 - request</title>
</head>
<body>
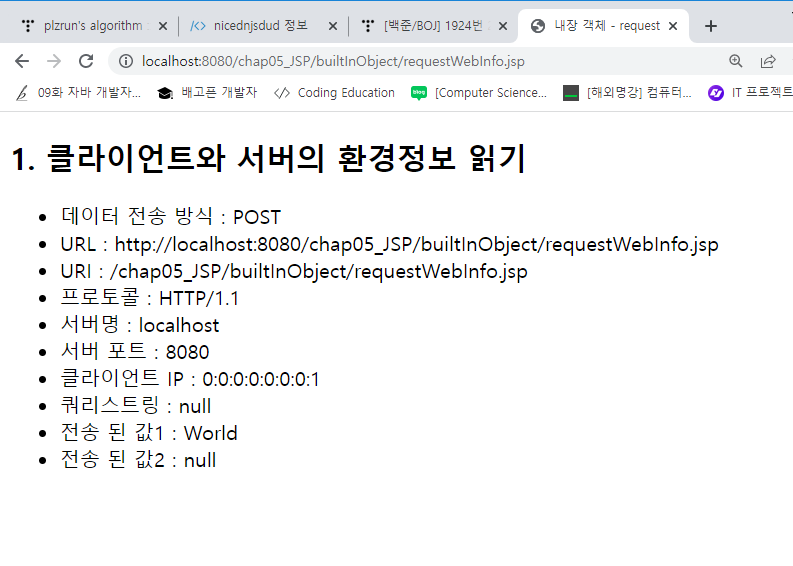
<h2>1. 클라이언트와 서버의 환경정보 읽기</h2>
<ul>
<li>데이터 전송 방식 : <%= request.getMethod() %></li>
<li>URL : <%= request.getRequestURL() %></li>
<li>URI : <%= request.getRequestURI() %></li>
<li>프로토콜 : <%= request.getProtocol() %></li>
<li>서버명 : <%= request.getServerName() %></li>
<li>서버 포트 : <%=request.getServerPort() %></li>
<li>클라이언트 IP : <%=request.getRemoteAddr() %></li>
<li>쿼리스트링 : <%= request.getQueryString() %></li>
<li>전송 된 값1 : <%= request.getParameter("bob") %></li>
<li>전송 된 값2 : <%= request.getParameter("may") %></li>
</ul>
</body>
</html>
- POST 방식
3) requestMain
...
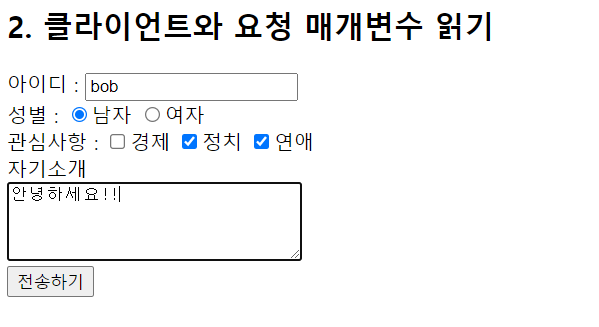
<h2>2. 클라이언트와 요청 매개변수 읽기</h2>
<form action="requestParameter.jsp" method="post" >
아이디 : <input type="text" name="id" value="" /><br>
성별 :
<input type="radio" name="sex" value="man" />남자
<input type="radio" name="sex" value="women" checked />여자
<br/>
관심사항 :
<input type="checkbox" name="favo" value="경제" />경제
<input type="checkbox" name="favo" value="정치" checked />정치
<input type="checkbox" name="favo" value="연애" />연애
자기소개 <br/>
<textarea rows="4" cols="30"></textarea><br/>
<input type="submit" value="전송하기" />
</form>
...
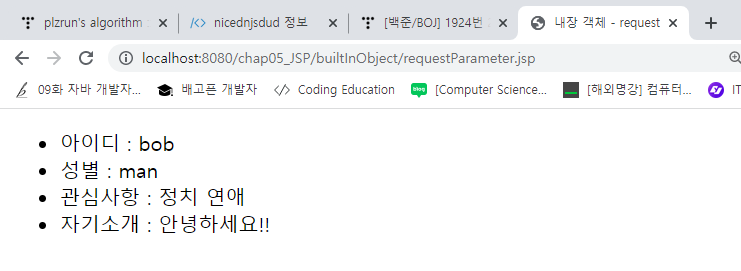
4) requestParameter
<body>
	<%
		request.setCharacterEncoding("utf-8");
		String id = request.getParameter("id");
		String sex = request.getParameter("sex");
		String[] favo = request.getParameterValues("favo");
		String favoStr="";
		if (favo !=null){
			for(int i=0;i<favo.length;i++){
				favoStr += favo[i] + " ";
			}
		}
		String intro = request.getParameter("intro").replace("\r\n", "<br/>");
	%>
	<ul>
		<li>아이디 : <%= id %></li>
		<li>성별 : <%= sex %></li>
		<li>관심사항 : <%= favoStr %></li>
		<li>자기소개 : <%=intro %></li>
	</ul>
</body>
requestHeader
<title>내장 객체 - request</title>
</head>
<body>
	<h2>3. 요청 헤더 정보 출력하기</h2>
	<%
		Enumeration headers =  request.getHeaderNames(); // 모든 요청 헤더의 이름 반환함
		while(headers.hasMoreElements()){	// 출력할 요청 헤더명이 있는지 확인함
			String headerName = (String)headers.nextElement();	// 헤더명이 있다면 요청 헤더 이름 얻어옴
			String headerValue = request.getHeader(headerName); // 헤더명을 건네 헤더값을 얻어옴
			out.print("헤더명 : "+headerName+", 헤더값 : "+headerValue+ "<br/>");
		}
	%>
	<p>이 파일을 직접 실행하면 referer 정보는 출력되지 않습니다.</p>
</body>
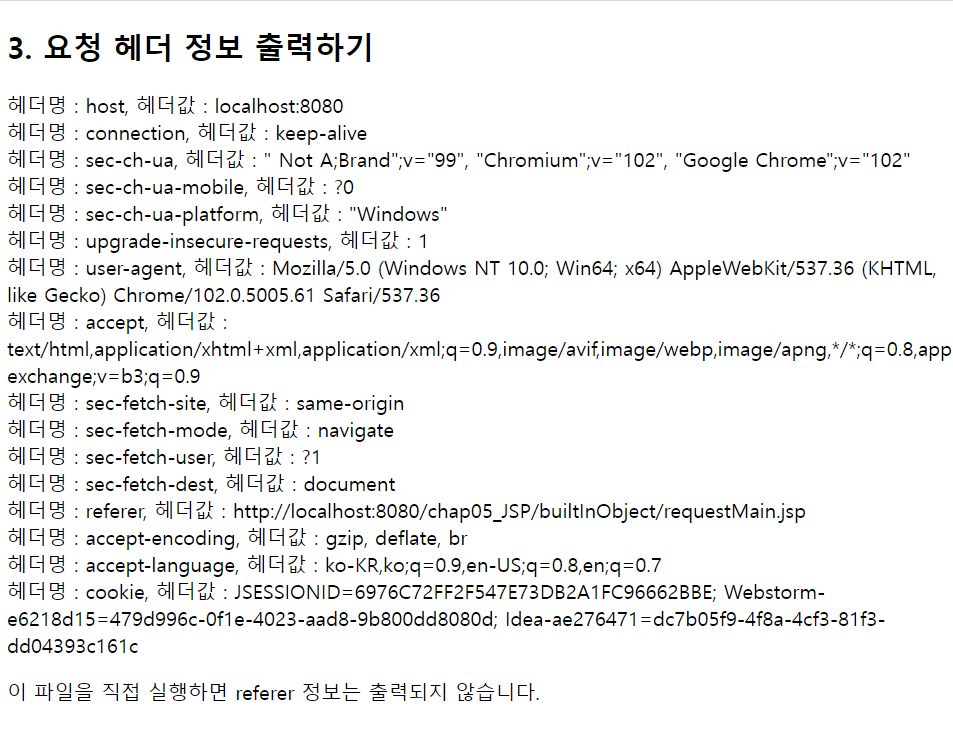
HTTP 요청 헤더 정보
- user-agent : 웹 브라우저 종류
- referer : 웹을 서핑하면서 링크를 통해 다른 사이트로 방문시 남는 흔적
- cookie : 쿠키 정보
response 객체
- 요청에 대한 응답을 웹 브라우저로 보내주는 역할을 함.
1) 페이지 이동을 위한 리다이렉트(redirect)
- sendReDirect()로 페이지 이동하기
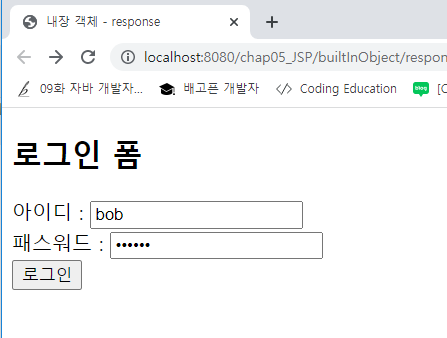
2) responseMain
<title>내장 객체 - response</title>
</head>
<body>
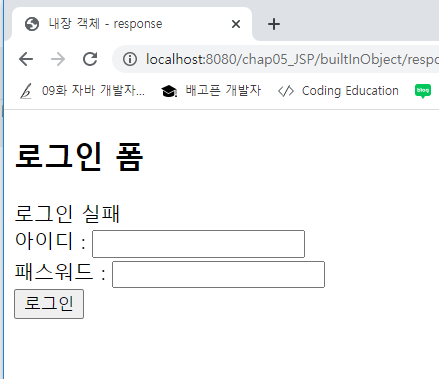
<h2>로그인 폼</h2>
<%
String loginErr = request.getParameter("loginErr");
if (loginErr != null) out.print("로그인 실패");
%>
<form action ="./responseLogin.jsp" method="post">
아이디 : <input type="text" name="user_id" /><br>
패스워드 : <input type="password" name="user_pwd" /><br>
<input type="submit" value="로그인" />
</form>
</body>
3) reponseLogin
<title>내장 객체 - response</title>
</head>
<body>
<%
	String id = request.getParameter("user_id");
	String pwd = request.getParameter("user_pwd");
	if( id.equalsIgnoreCase("bob") && pwd.equalsIgnoreCase("0824")){
		response.sendRedirect("responseWelcome.jsp");
	}
	else{
		request.getRequestDispatcher("responseMain.jsp?loginErr=1").forward(request, response);
	}
%>
</body>
out 객체
- 웹 브라우저에 변수 등의 값을 출력할 때 주로 사용.
1) 버퍼를 이용함
- 출력되는 모든 정보는 버퍼에 먼저 저장된 후 웹 브라우저에 출력됨.
<%
out.print("텍스트 테스트입니다."); // 버퍼에 저장
out.clearBuffer(); // 버퍼를 비움 (윗줄의 출력 결과 사라짐)
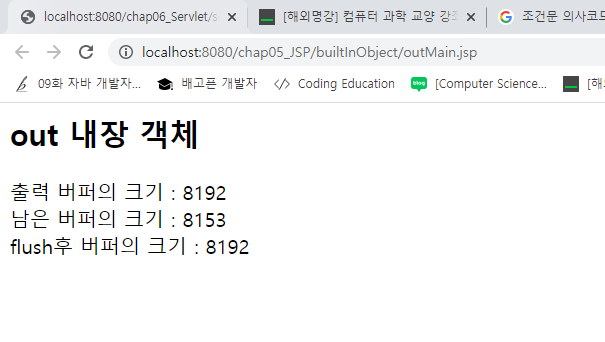
out.print("<h2>out 내장 객체</h2>");
// 버퍼 크기 정보 확인
out.print("출력 버퍼의 크기 : "+out.getBufferSize()+"<br/>");// 현재 페이지에 설정된 버퍼의 크기
out.print("남은 버퍼의 크기 : "+out.getRemaining()+"<br/>"); // 사용하고 남은 버퍼의 크기
out.flush(); // 버퍼의 담긴 내용을 강제로 플러시함.
// 원래는 모두 채워졌을 때 플러시되면서 내용이 출력함.
out.print("flush후 버퍼의 크기 : "+out.getRemaining()+"<br/>");
%>
application 객체
- 웹 애플리케이션 당 하나만 생성
- 모든 JSP 페이지에서 접근할 수 있음.
- 서버의 정보, 서버의 물리적 경로 등
- web.xml에 설정한 컨텍스트 초기화 매개변수 정보를 읽어올 수 있음
web.xml
...
<!-- 컨텍스트 초기화 매개변수 -->
<context-param>
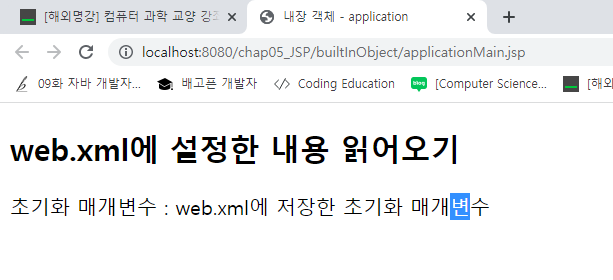
<param-name>INIT_PARAM</param-name>
<param-value>web.xml에 저장한 초기화 매개변수</param-value>
</context-param>
</web-app>
ApplicationMain
<title>내장 객체 - application</title>
</head>
<body>
	<h2>web.xml에 설정한 내용 읽어오기</h2>
	초기화 매개변수 : <%= application.getInitParameter("INIT_PARAM") %>
</body>
exception 객체
1) HTTP 에러 코드
- 404 : Not Found (클라이언트가 요청한 경로에 문서를 찾을 수 없다.)
- 405 : Method Not Allowed (GET 방식 혹은 POST 방식으로 요청했는데 처리할
컨트롤러가 없는 경우) - 500 : Internal Server Error (코드에 오타가 있거나 로직에 문제 있어
웹서버가 요청 사항 수행 못함.)
	...
<!--  에러 페이지 처리하기  -->
  <error-page>
  	<error-code>404</error-code>
  	<location>/builtInObject/Exception.jsp</location>
  </error-page>
  <error-page>
  	<error-code>405</error-code>
  	<location>/builtInObject/Exception.jsp</location>
  </error-page>
  <error-page>
  	<error-code>500</error-code>
  	<location>/builtInObject/Exception.jsp</location>
  </error-page>
</web-app>
- 500에러 만들기
<%	// 500 에러
	int myAge = Integer.parseInt(request.getParameter("age")) + 10;
	out.println("10년 후 나이는 "+myAge+"입니다.");
%>
- Exception.jsp
<title>내장 객체 - Exception</title>
</head>
<body>
<%
int status = response.getStatus();
if(status==404){
out.print("404 에러가 발생하였습니다.");
out.print("<br/>파일 경로를 확인해 주세요.");
}
else if(status==405){
out.print("405 에러가 발생하였습니다.");
out.print("<br/>요청 방식(method)을 확인해 주세요.");
}
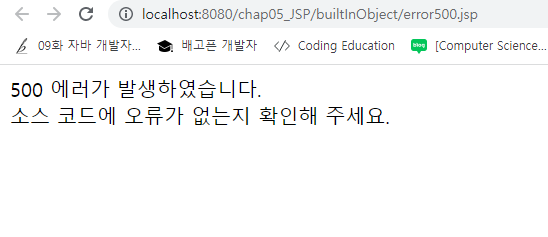
else if(status==500){
out.print("500 에러가 발생하였습니다.");
out.print("<br/>소스 코드에 오류가 없는지 확인해 주세요.");
}
%>
</body>
댓글남기기